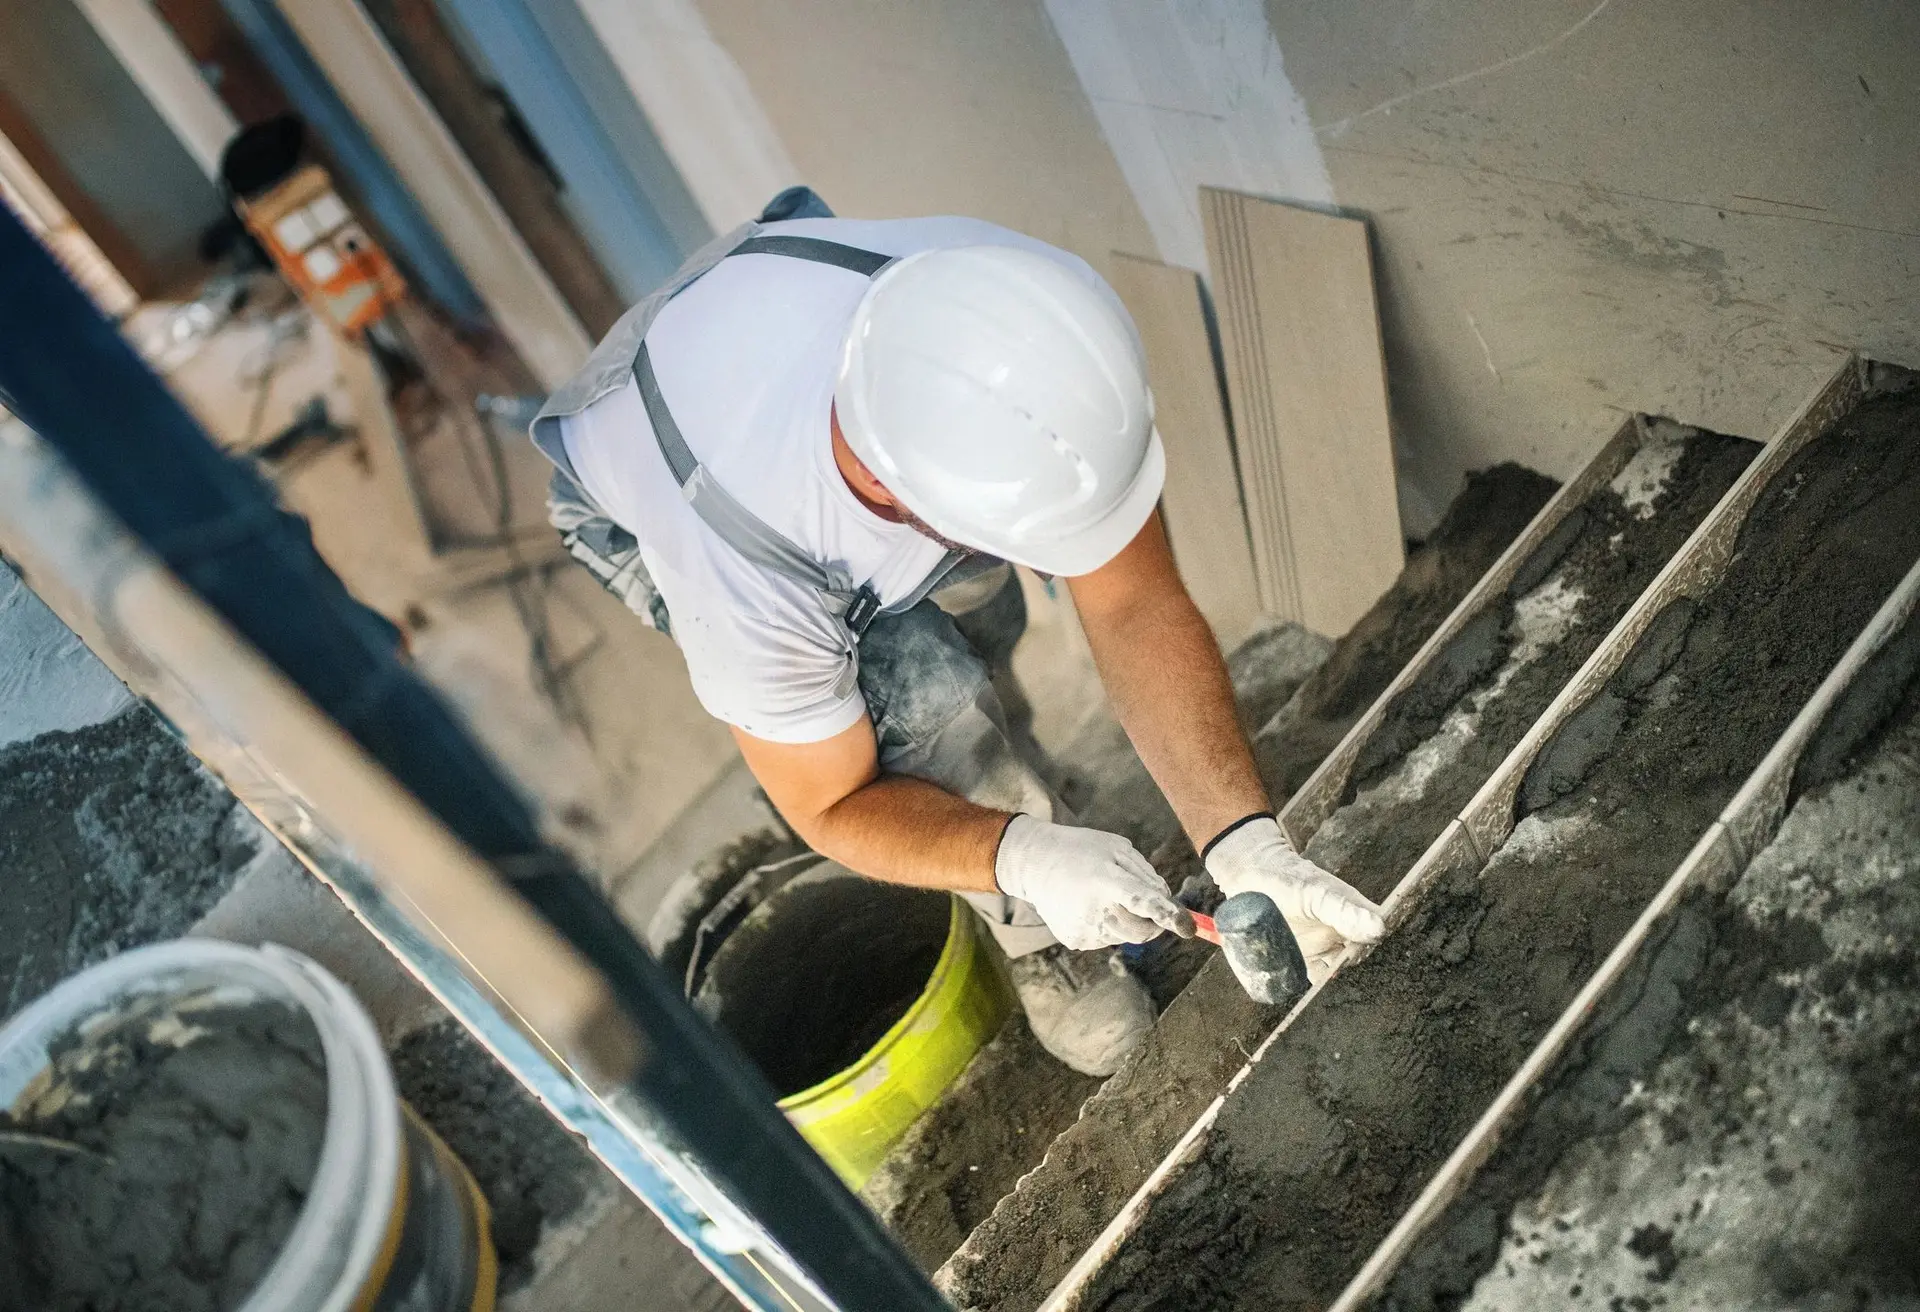
Cracks Underfoot: Why Fixing Damaged Concrete Steps Can’t Wait
Every homeowner knows the sinking feeling of spotting a new crack in the front steps—especially after a harsh winter. From hairline fractures to uneven, crumbling risers, deteriorating concrete isn’t just unsightly—it’s a liability. In regions like Chicagoland and northern Illinois, where freeze-thaw cycles stress outdoor structures year after year, concrete steps are particularly vulnerable. Water seeps into tiny fissures, expands when frozen, and gradually forces slabs apart, accelerating wear. Over time, this leads to tripping hazards, water pooling near foundations, and even structural instability.
Left unrepaired, minor damage can compromise the safety of your entryway and diminish your home’s curb appeal and resale value. A wobbly or cracked step sends subtle signals of neglect, deterring potential buyers and raising red flags during property inspections. On the flip side, timely concrete repair reinforces safety, improves accessibility, and preserves the integrity of your exterior investment.
In this guide, you’ll discover five proven repair solutions—from quick patch fixes to full resurfacing—that match both your immediate needs and long-term goals. Whether dealing with surface spalling, joint separation, or settled slabs, understanding your options helps you act confidently before small issues become costly overhauls.
Prepare Your Concrete Steps for Long-Lasting Repairs
Before applying any patching material, proper surface preparation is crucial to ensure a strong bond and lasting repair. Follow these steps to get damaged concrete steps ready for restoration, especially important in regions like Chicagoland where freeze-thaw cycles accelerate deterioration.
- Clean the Surface Thoroughly
Use a pressure washer or stiff brush to remove dirt, oil, and debris. For stubborn stains, apply a concrete cleaner and scrub with a non-metallic brush to avoid damaging the surrounding area. - Remove Loose and Spalled Concrete
Chisel away cracked, flaking, or hollow sections using a cold chisel and hammer. Work until you reach solid, sound concrete—this prevents future delamination and ensures repair materials adhere properly. - Assess the Full Extent of Damage
Inspect for deep cracks, structural shifting, or signs of subbase settlement. Tap the surface with a screwdriver; if it chips easily, the concrete is compromised beyond surface-level damage. - Profile the Edges
Bevel the perimeter of the damaged area at a 45-degree angle to create a keyway for better adhesion. Feather the edges smoothly to prevent sharp drop-offs in the patch. - Dust and Dry Completely
After preparation, blow out dust with compressed air or a dry cloth. Allow the area to dry fully—moisture weakens bonding and can cause premature failure. Always wear safety goggles and gloves during prep. A well-prepared surface is the foundation of a durable repair.
Mastering Concrete Patching: A Step-by-Step Repair Guide
Fixing damaged concrete doesn’t require a full replacement—when done correctly, patching delivers a durable, seamless result that restores both function and appearance. Whether you're addressing cracks in a suburban Chicagoland driveway or repairing a chipped entryway step, using a high-quality concrete patching compound is the most effective solution for localized damage.
- Prepare the Damaged Area
Chisel away loose fragments and use a wire brush to remove dust and debris. For best adhesion, clean the cavity with a pressure washer or compressed air and allow it to dry completely. Dampen the area slightly (without standing water) to prevent the patch from drying too quickly. - Mix the Patching Compound
Follow manufacturer instructions precisely. Most polymer-modified patching compounds require only clean water. Mix to a peanut butter-like consistency—too much water weakens the bond and increases shrinkage. - Apply in Layers
For deep repairs, apply in ½-inch layers, troweling each layer firmly into place. Use a margin trowel to press the compound into edges and corners, eliminating voids. - Smooth and Finish
After the final layer, smooth with a steel trowel or float. Match the surrounding texture—use a broom finish for walkways or stipple with a sponge for decorative consistency. - Cure Properly
Keep the patch moist for at least 48 hours by covering with plastic sheeting or applying a curing compound. This prevents cracking and ensures maximum strength development in northern Illinois’ variable climate.
Seal and Cure for Longevity: The Final Steps to a Durable Concrete Repair
After patching cracks or replacing damaged slabs, proper finishing and curing are essential to ensure your repaired concrete stands up to daily wear, weather fluctuations, and freeze-thaw cycles—especially in regions like Chicagoland and northern Illinois where seasonal stress is significant.
- Smooth and Texture the Surface
Use a steel trowel or bull float to level the patch, blending edges seamlessly with the surrounding concrete. For outdoor areas, apply a broom finish to add slip resistance—ideal for entryways, driveways, and sidewalks exposed to rain or ice. - Install Control Joints if Needed
If repairing a large section, cut or form control joints every 8–12 feet to guide cracking along predictable lines. This prevents random fissures caused by shrinkage or temperature shifts. - Begin Moist Cure Immediately
Keep the surface damp for at least 7 days to allow complete hydration. Cover the area with wet burlap, plastic sheeting, or use a liquid curing compound to reduce moisture loss and prevent surface cracking. - Apply a Protective Sealer
Once fully cured, apply a high-quality penetrating sealer. This shields against water intrusion, deicing salts, and UV damage—common causes of spalling and surface degradation in cold climates. - Limit Foot and Vehicle Traffic
Allow at least 7 days before light use and 14 days before heavy loads to ensure maximum strength development. Taking these proven curing practices seriously ensures your concrete repair lasts decades, not years.
Know When to Call a Pro: DIY vs. Professional Concrete Repairs
Not every crack in your concrete entryway requires a specialist—but knowing the difference can save you time, money, and future headaches. Minor surface flaws may be ideal for a weekend DIY project, while deeper structural damage demands professional intervention to ensure safety and long-term performance, especially in regions like Chicagoland where freeze-thaw cycles accelerate deterioration.
Start by assessing the damage. Small, hairline cracks under ¼ inch wide and limited to the surface are typically safe to repair yourself using a high-quality polymer-based filler. These non-structural issues are common in older slabs and can be sealed to prevent moisture infiltration. However, if cracks are widening, running through load-bearing areas, or accompanied by uneven settling, it's time to consult a concrete specialist.
Structural concerns like spalling, large-scale cracking, or sinking slabs often indicate problems with the subbase or drainage—issues that require excavation, regrading, and professional forming and pouring. Attempting such repairs without the proper tools, materials, or experience can lead to inconsistent results or further damage.
If you're in Naperville, Aurora, or surrounding northern Illinois communities, consider local climate factors. Improper joint placement or inadequate curing in previous repairs can compromise integrity. When in doubt, especially with entryways, driveways, or steps where safety is critical, professional evaluation ensures code-compliant, durable solutions tailored to your property’s needs.
Common Questions About Repairing Concrete Steps—Answered
How much does it cost to repair concrete steps?
Repair costs depend on the extent of damage and technique used. Minor cracks or surface-level spalling can often be fixed for $100–$300 using patching compounds or resurfacing. Larger issues like settled or heaved steps may require mudjacking or slab replacement, ranging from $500–$1,500. In northern Illinois and similar climates, labor and materials may vary slightly due to weather-related prep needs.
How long do repaired concrete steps last?
When properly executed, repairs can extend the life of existing steps by 10–15 years or more. Longevity depends on the repair method, quality of materials, and ongoing maintenance. For example, polymer-based overlays bond strongly and resist peeling, while mudjacked steps stay stable if the underlying base is properly compacted.
Can I repair concrete steps myself?
DIY repairs work well for hairline cracks or small spalled areas using pre-mixed patching products. However, structural issues—like uneven settling, deep cracking, or steps pulling away from the foundation—require professional assessment. Improper fixes can worsen water intrusion and lead to safety hazards.
Does weather affect concrete step repairs?
Yes—ideal repair conditions are dry weather with temperatures above 50°F. In Chicagoland and similar regions, repairs done in late spring through early fall cure more reliably. Cold or wet conditions can interfere with bonding and curing, leading to premature failure.
How soon can I use steps after repair?
Most surface repairs cure in 24–48 hours, while mudjacking or full resets may require 3–7 days before foot traffic. Always follow product-specific guidelines and avoid heavy loads until fully set.
What causes concrete steps to crack or settle?
Common causes include poor initial installation, inadequate base compaction, freeze-thaw cycles, water erosion, and tree root movement. Proper drainage and expansion joints help prevent future issues.
Are concrete step repairs worth it?
For localized damage, repairs are cost-effective and preserve the existing structure. Widespread deterioration may mean replacement is more economical long-term.
Protect Your Property: The Lasting Impact of Proper Concrete Step Maintenance
Well-maintained concrete steps do more than create a polished exterior—they play a critical role in home safety, accessibility, and long-term structural integrity. In regions like Chicagoland and northern Illinois, where freeze-thaw cycles and seasonal moisture wreak havoc on outdoor surfaces, proactive repairs prevent minor cracks from escalating into trip hazards or foundation-compromising damage. Over time, unchecked wear leads to uneven settling, pooling water, and costly full replacements—issues easily avoided with timely intervention.
By addressing damage early—whether through mudjacking for sunken slabs, epoxy injections for cracks, or installing expansion joints—homeowners protect both curb appeal and occupant safety. Properly repaired steps blend seamlessly with existing architecture, maintaining the aesthetic cohesion of driveways, walkways, and entryways. Textured finishes and proper sealing enhance slip resistance and longevity, especially in high-traffic areas.
Don’t wait for deterioration to progress. Start by inspecting your concrete entryway for gaps, cracks, or slope issues. Clean and seal surfaces regularly, and consider professional evaluation if structural shifts are suspected. Investing in quality repairs today ensures decades of reliable performance and boosts property value. Take the next step toward a safer, more attractive home entrance by prioritizing smart, sustainable concrete care.