Why the Perfect Pour Starts Beneath the Surface
You can have the strongest concrete mix, but without the right foundation, cracks, sinking, and uneven surfaces are inevitable. The secret to long-lasting driveways, patios, and sidewalks lies in masterin concrete levels—the precise elevation and slope guidance that ensures stability, proper drainage, and structural integrity. In areas like Chicagoland, where freeze-thaw cycles stress flatwork year after year, accurate leveling isn’t just best practice—it’s essential for preventing costly damage.
Concrete levels determine how water flows away from foundations, how evenly weight is distributed, and how well the slab resists shifting over time. Whether you're pouring a backyard patio in Naperville or a garage floor in Aurora, achieving consistent, accurate levels starts with proper sub-base preparation and precise formwork alignment. This includes using laser levels or string lines to establish uniform gradients, typically with a minimum 1/4-inch-per-foot slope for effective runoff.
In this guide, you’ll learn the core principles of concrete leveling, how to avoid common pitfalls like ponding water and edge cracking, and the tools and techniques professionals use to ensure a flawless finish—every time.
What Is Concrete Leveling? From Grading to Finishing
Concrete leveling isn’t a one-step process—it’s a precision construction phase that begins long before the first trowel touches wet concrete. At its core, leveling ensures a flat, even, and structurally sound surface, but it actually covers two distinct stages: initial site grading and final surface leveling during the pour. Understanding the difference is key to avoiding costly settlement issues down the line, especially in regions prone to soil movement and freeze-thaw cycles.
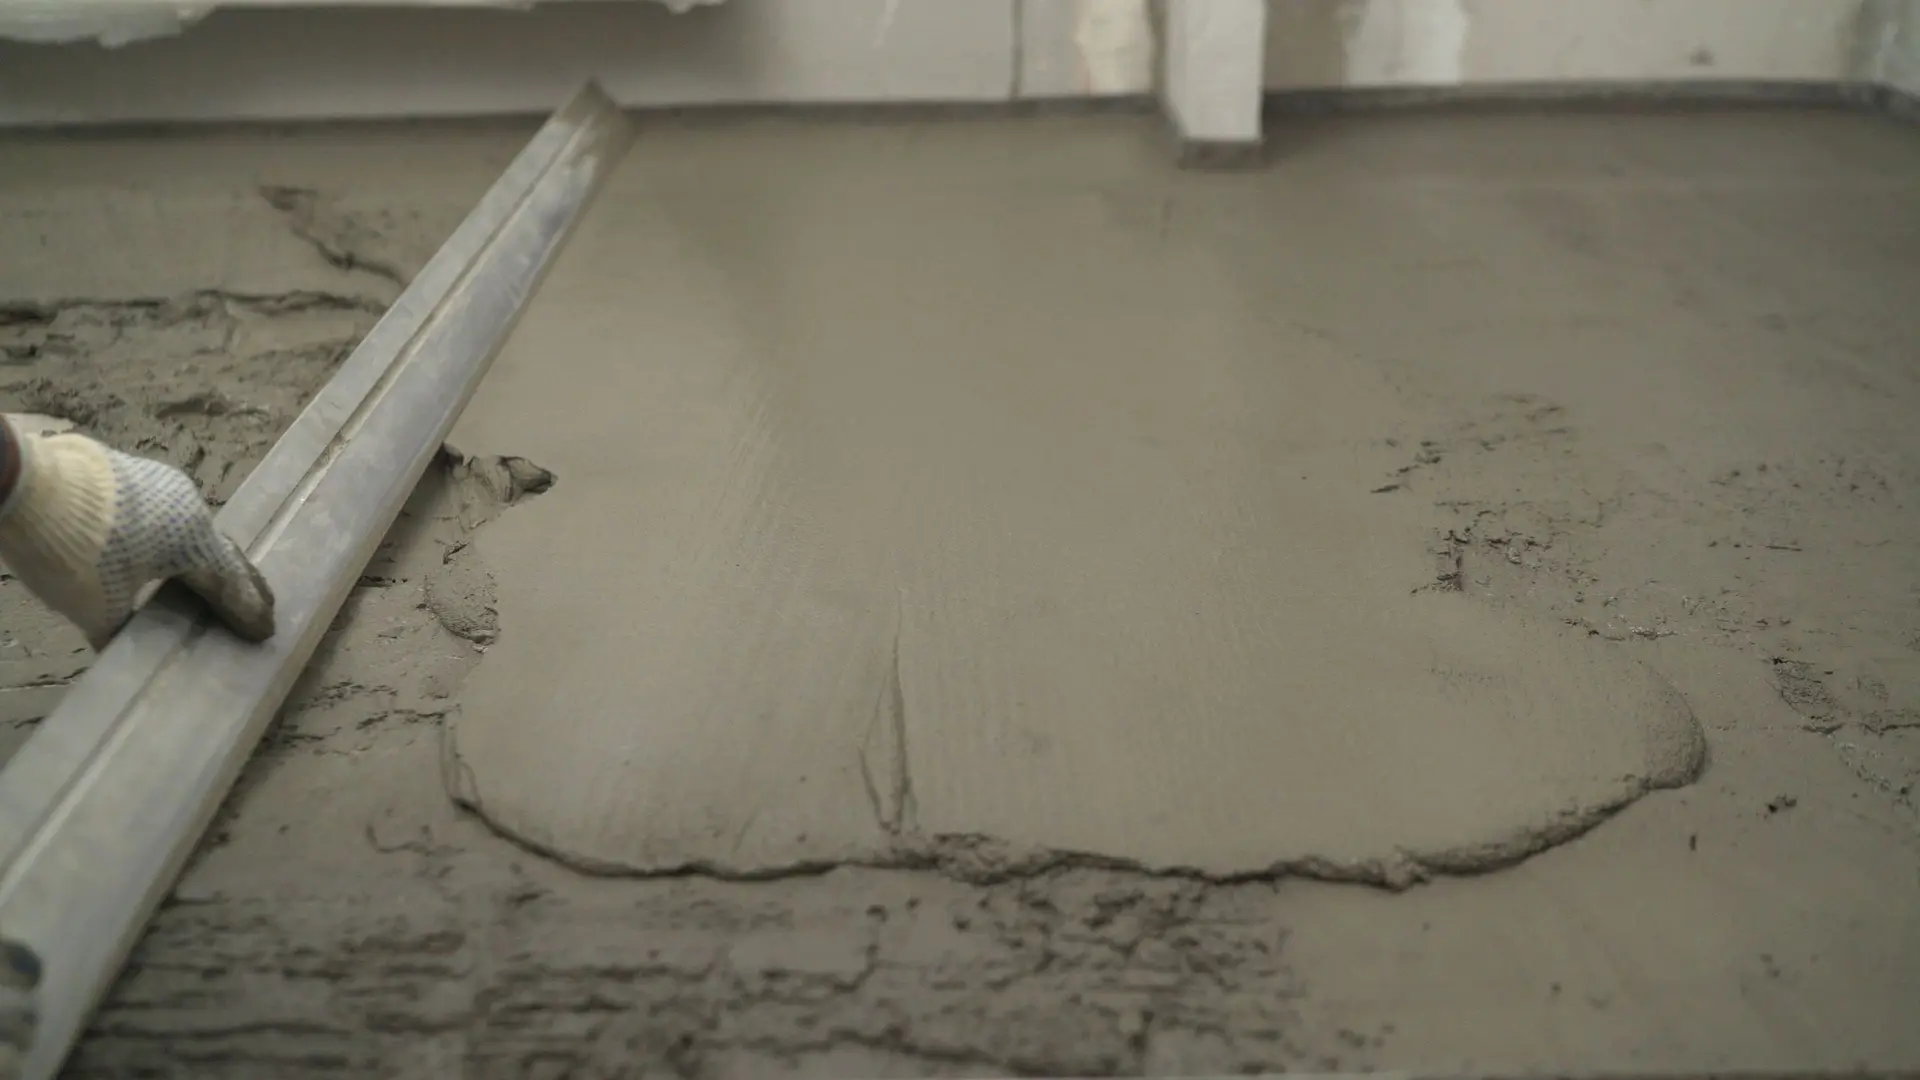
Initial grading involves shaping the sub-base—soil, gravel, or crushed stone—to the correct elevation and slope, ensuring proper drainage away from buildings. This foundational step prevents water accumulation that could weaken the slab over time. Once the base is stable, forms are set, and concrete is poured, surface leveling takes over. This phase, also called “screeding,” uses a straight-edged tool to pull excess concrete across the forms, creating a uniform plane ready for floating and finishing.
Key factors in successful leveling include:
- Correct slope (typically 1/4 inch per foot for drainage)
- Consistent base compaction to avoid shifting
- Use of laser or string lines for accuracy in larger slabs Whether it’s a sidewalk in Naperville or a patio in Aurora, proper leveling at both stages ensures longevity, safety, and a professional finish. Skipping details at either phase risks uneven settling, pooling water, and premature cracking—problems easily avoided with careful preparation.
Precision Leveling: Essential Tools and Techniques for Flawless Concrete
Achieving a perfectly level concrete surface starts with selecting and using the right tools at the right time. Whether you're working on a small patio in Naperville or a large driveway in Aurora, precise leveling prevents drainage issues, cracking, and uneven wear over time—especially critical in regions with freeze-thaw cycles.
- Set Up Reference Points with a Laser Level
Begin by establishing a level plane using a rotary laser level mounted on a tripod. Project a 360-degree beam across the site to mark consistent elevation on forms or stakes. This ensures accuracy within 1/8 inch over 100 feet—ideal for large or sloped areas. - Screed the Fresh Concrete
Once poured, use a straightedge screed board—typically aluminum or magnesium—to level the surface. Drag the screed across the wet concrete in a sawing motion, following the form edges. For wider slabs, extend screeding with a vibrating screed rail to maintain consistency. - Fine-Tune with a Bull Float
After screeding, use a magnesium or aluminum bull float to smooth minor imperfections and push larger aggregate below the surface. Work from the far edge backward to avoid walking on fresh concrete. - Check for Flatness with a 10-Foot Straightedge
For high-precision jobs, run a long straightedge across the surface to identify humps or dips. Lifted edges indicate low spots; dragging reveals high areas. Re-trowel or spot-level as needed. Pro Tips:
- Keep tools clean and straight for consistent results
- Work methodically to avoid air pockets and weak zones
- In colder climates, adjust timing to avoid finishing too early or late Mastering these steps ensures a durable, level finish that stands up to weather and time.
Watch Out: What Happens When Concrete Isn’t Leveled Properly?
Improperly leveled concrete may look fine at first glance, but hidden problems often emerge within months—leading to costly repairs and safety hazards. Uneven grading disrupts water flow, creating _pooling water_on surfaces like driveways, patios, and sidewalks. This standing water doesn’t just look unsightly; it seeps into the slab, weakening the sub-base and accelerating wear—especially during Chicagoland’s freeze-thaw cycles, where trapped moisture expands and causes cracks.* Cracking* is one of the most common consequences of poor leveling. When concrete isn’t graded correctly, stress concentrates in thin or unsupported areas, making them prone to hairline fractures that widen over time. These cracks compromise structural integrity and allow more water intrusion, creating a damaging cycle.
Even worse, structural issues can develop beneath the surface. A slab that slopes toward a foundation can redirect water to the home’s base, risking basement flooding and soil erosion. In extreme cases, uneven settling leads to tripping hazards, driveway dips, or misaligned garage doors—particularly in areas like Naperville and Aurora where soil composition varies.
To avoid these issues:
- Always ensure a minimum 1/4-inch-per-foot slope away from structures
- Use laser levels or string lines during installation to verify consistency
- Inspect the sub-base for soft spots or organic material before pouring Proper grading isn’t just about appearance—it’s a critical step in protecting your investment and ensuring long-term durability.
Ensuring Lasting Stability: Proven Methods for Long-Term Levelness
Achieving a perfectly level concrete surface isn’t just about the pour—it’s about what happens before and after the slab sets. Long-term level stability begins with meticulous base preparation and smart use of expansion joints, especially in regions prone to ground movement like Chicagoland, Naperville, and Aurora. A poorly prepared subgrade or missing movement joints can lead to cracking, uneven settling, and costly repairs down the line.
Start with a compacted gravel base, ideally 4–6 inches deep, layered and tamped in 2-inch lifts to eliminate air pockets and ensure uniform density. This solid foundation prevents shifting under load and enhances drainage, reducing the risk of frost heave in colder months. Always verify the base is graded properly with a slight slope (¼ inch per foot) away from structures to direct water runoff and prevent erosion.
Next, incorporate expansion joints at regular intervals—typically every 10 to 12 feet—using materials like closed-cell foam or pre-formed joint fillers. These joints allow the concrete to expand and contract with temperature fluctuations without cracking. Cut control joints at saw-cut depth within 24–48 hours after pouring to guide where cracks should occur, maintaining aesthetic and structural integrity.
By combining a stable base with strategic joint placement, you protect your concrete investment for years to come.
Frequently Asked Questions About Concrete Leveling and Slab Repairs
How do I know if my concrete slab needs leveling?
Look for signs like tripping hazards, pooling water, or visible gaps between the slab and adjacent structures. Uneven surfaces often result from soil erosion, poor drainage, or freeze-thaw cycles—common in areas like Naperville and Aurora. If a door scrapes or a garage floor slopes, it’s likely time to assess for settlement.
What causes concrete to sink or become uneven?
Soil compaction, poor initial grading, and water infiltration are primary culprits. Over time, especially in regions with clay-heavy soil or extreme weather, the ground beneath slabs can shift, leaving voids that cause slabs to sink. Tree roots and damaged utility lines can also contribute.
What’s the difference between mudjacking and slab replacement?
Mudjacking (or slab jacking) involves injecting a grout mixture under the slab to lift it back into place—cost-effective and minimally invasive. Slab replacement means removing and repouring concrete, which is more durable but disruptive and expensive. For stable, non-cracked slabs, mudjacking is often sufficient.
How long do concrete leveling repairs last?
Properly performed mudjacking can last 8–10 years, depending on soil conditions and drainage. Full slab replacement typically lasts decades. Longevity improves significantly when paired with corrected grading and proper runoff solutions.
Can I level concrete myself?
DIY methods are not recommended. Lifting requires precise pressure and knowledge of load distribution to avoid cracking. Professionals use calibrated equipment and assess subsurface conditions to ensure safe, lasting results.
Is concrete leveling suitable for all areas?
It works well for driveways, sidewalks, patios, and garage floors. However, severely cracked or spalled slabs may require replacement. A structural assessment helps determine the best repair path.
How soon can I use the slab after repair?
With mudjacking, most surfaces are usable within 24 hours. Slab replacement requires curing time—typically 7 days before heavy use. Always follow recommended drying times to ensure durability.
Why Proper Concrete Leveling Is Non-Negotiable for Long-Term Success
Achieving a level concrete surface isn’t just about appearance—it’s a structural necessity that impacts durability, safety, and property value. In both residential and commercial projects across regions like Chicagoland, uneven settling due to poor subgrade preparation can lead to tripping hazards, water pooling, and premature slab failure. Proper concrete leveling ensures the load is evenly distributed, reducing stress on the material and preventing cracks caused by shifting or frost heave—common concerns in Naperville, Aurora, and surrounding areas with volatile weather cycles.
A well-leveled slab begins with a compacted gravel base, correct moisture balance, and precise grading to allow for natural drainage. When executed correctly, it enhances the performance of driveways, patios, sidewalks, and foundations, extending their lifespan by decades. It also improves aesthetics, giving properties a clean, professional finish that boosts curb appeal and functionality.
To protect your investment:
- Always inspect the sub-base before pouring
- Use proper compaction techniques in controlled lifts
- Confirm surface levelness with a laser or string line
- Incorporate expansion joints to manage thermal movement Don’t underestimate the importance of this foundational step. Take the time to do it right—your finished concrete will remain stable, safe, and visually appealing for years. For reliable results, consult trusted professionals who prioritize precision and adhere to industry best practices in concrete leveling and installation.